

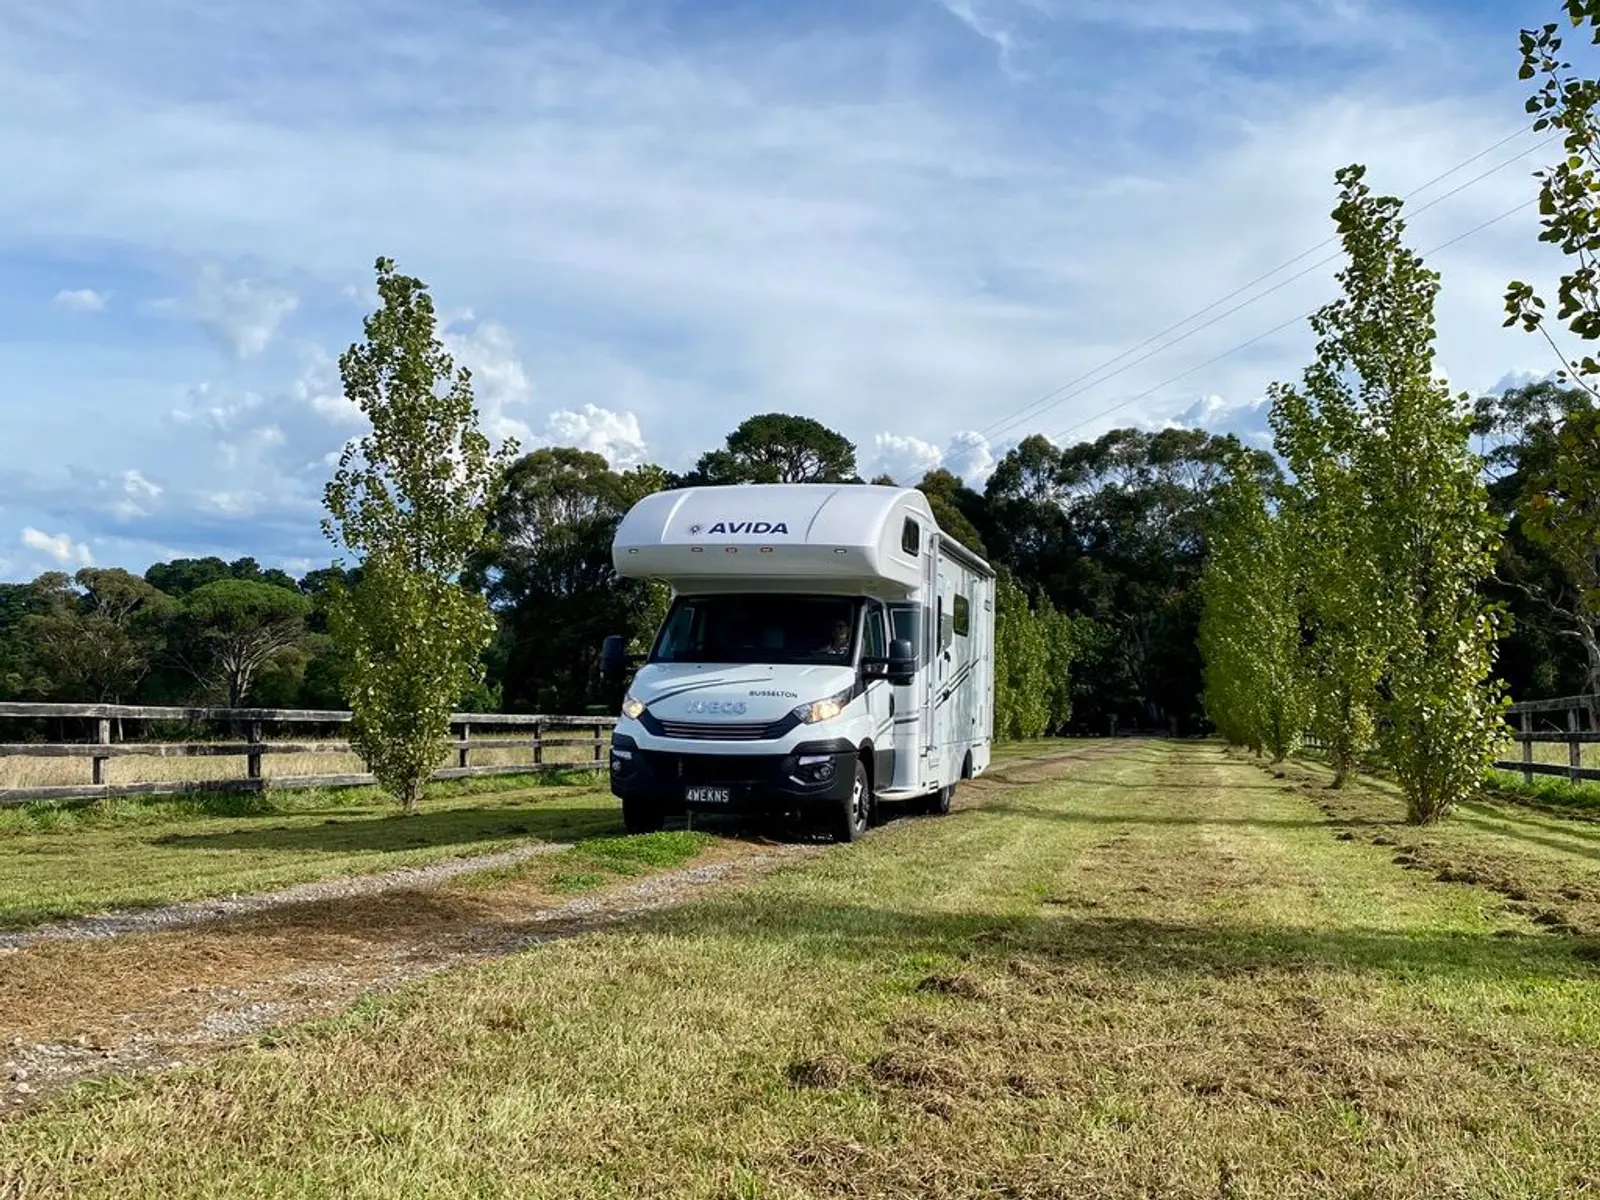
For many RV owners the last six months or so have been spent in lockdown or with serious travel restrictions. That means vehicles have been sitting idle on the driveway, in the backyard or at the storage facility, and that's not good. They say a ship is safe in the harbour but that's not what ships are for, and the same applies to recreational vehicles: RVs are meant to travel and be lived in, and without regular use can deteriorate in ways not always apparent. Here are 10 tips on what to look for and how to get your RV in tip-top shape for life beyond Freedom Day…
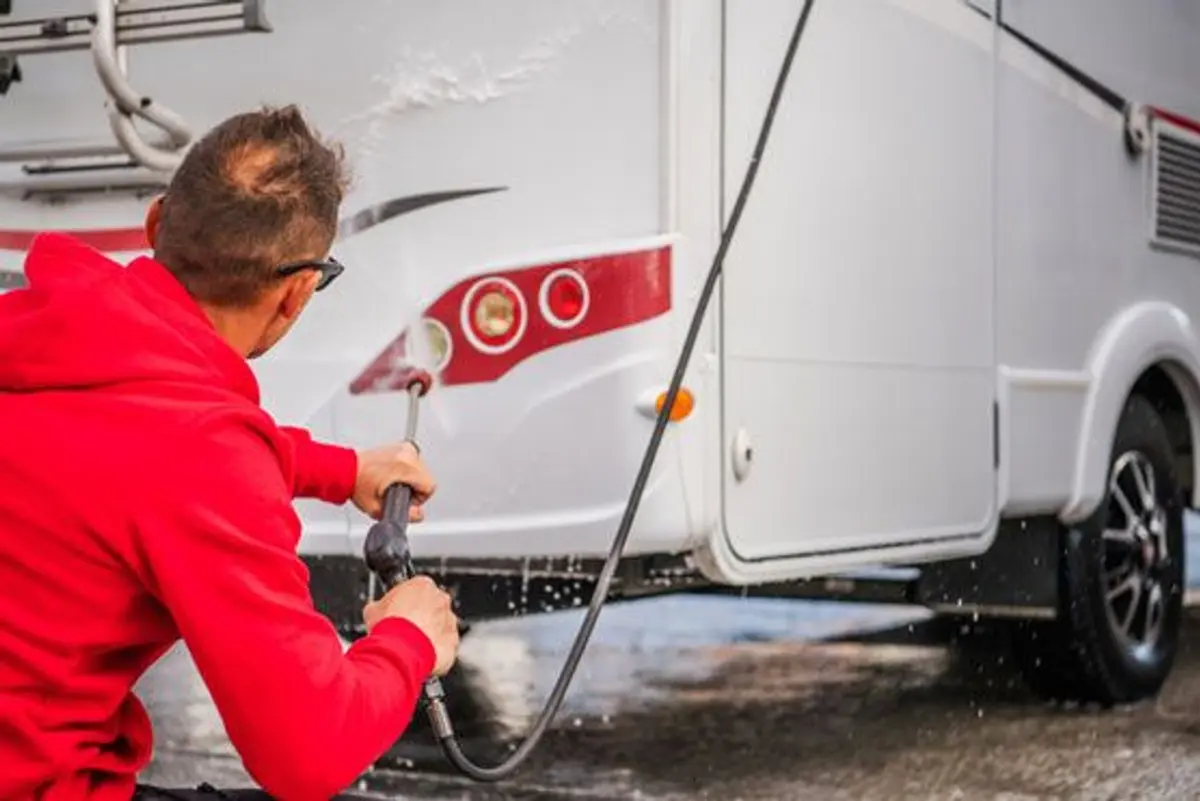
1: Wash and Inspect
It's amazing how dirty a vehicle can get whilst parked-up. Not only does it look bad, dust and grime can hide issues that need correcting before travelling. Start by rolling out the awning and visually inspect the whole vehicle. Look also for spiders’ webs and insect nests (wasps love rolled-up awnings and small openings like the diesel heater exhaust pipe or inside the cover of the hot water system). Clean them up and after washing (the next step), treat those areas with a crawling insect spray if you think it appropriate.
After the inspection, wash using a good quality automotive detergent, followed by a thorough rinse. Once dry, roll-up the awning (after a careful inspection for wear and having ensured all parts are operating properly). If you're keen, polishing is an excellent idea and not only adds sparkle, it helps protect the paint and is especially important on fibreglass bodywork.
When washing, pay special attention to the roof. You’ll need a step ladder to wash up there and so be very careful to ensure it is secure (preferably, have someone hold it). Regularly move the ladder rather than trying to reach too far, and take it slowly. Yes, it’s tedious, but important. Solar panels need to be clean as a whistle for maximum efficiency and any gutters need a clean-out. Inspect roof hatches and things like the TV aerial or satellite dish for A: security and B: proper sealing around attachment points and where wiring enters the body. These are prime places for water leaks and need to be checked annually at the very least.
Once clean, carefully inspect the rest of the exterior, making sure window, body panel and vent seals are in good condition and that hatches and lockers easily open, close (and lock, if applicable). Check the LPG cylinders are secure and the fittings tight and leak-free – use soapy water to detect leaks around the valves – and ensure all water hose connection points are clean and valves operative. Ditto the TV aerial, satellite dish, external table, etc. Once clean outside, it’s time to move inside.
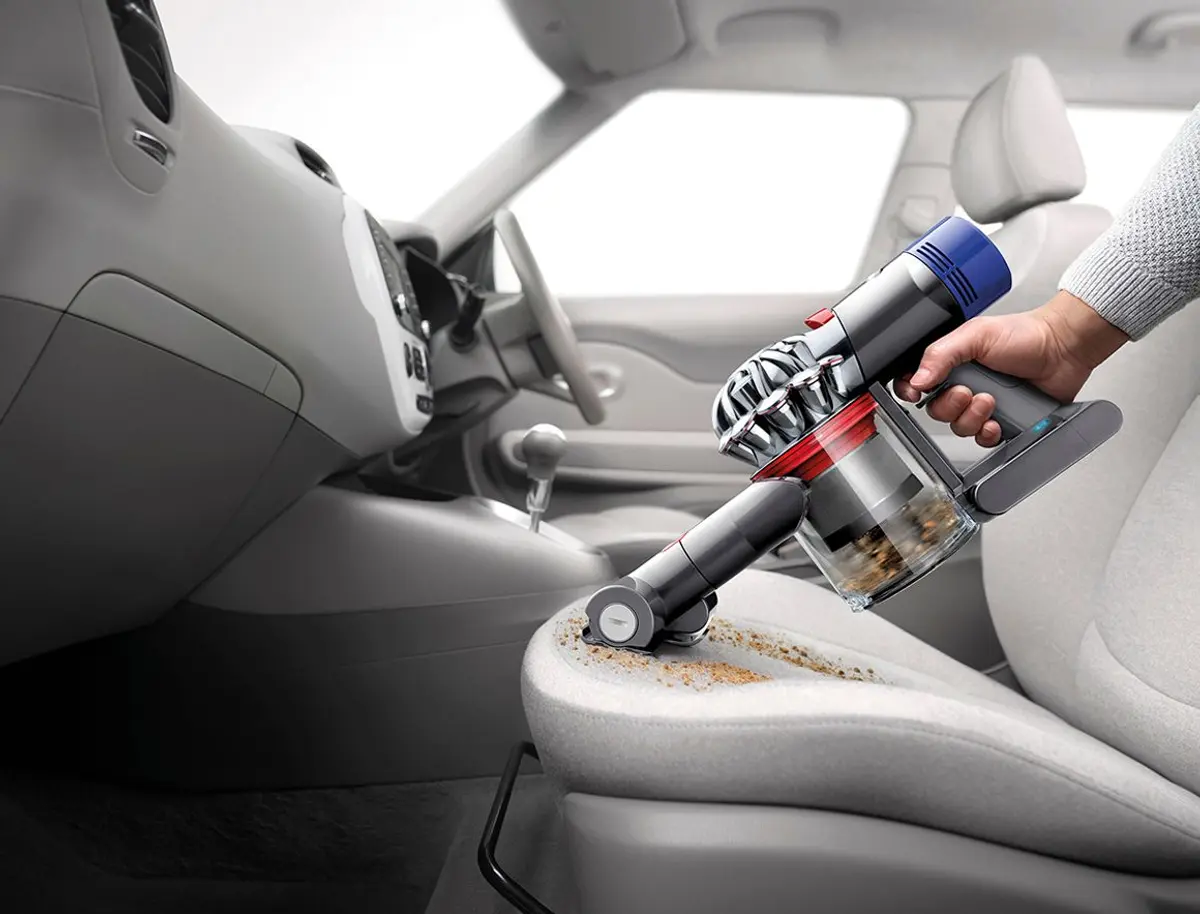
2: Inside Clean-up
Even with your RV closed-up, it’s surprising how much air and therefore dust still circulates inside. That’s due to mandated venting of roof hatches and the door, plus places like fridge vents and even the hot water system.
Clean top-down and start by wiping the ceiling, cupboards, walls and bench tops, with a dust cloth. Find all the nooks and crannies – you’ll be surprised how many there are – and don’t forget the cab. Then, use a handheld vacuum like a Dyson with an upholstery head to clean the seats and bed/s.
Next, swap heads and vacuum the floor, making sure to first remove any mats/rugs/sleeping pets and again, don’t forget the cab. Finally, use a microfibre floor mop and appropriate cleaner to give the flooring a really good going over. It’s amazing how much dirt you’ll get from vinyl flooring that appears to be clean.
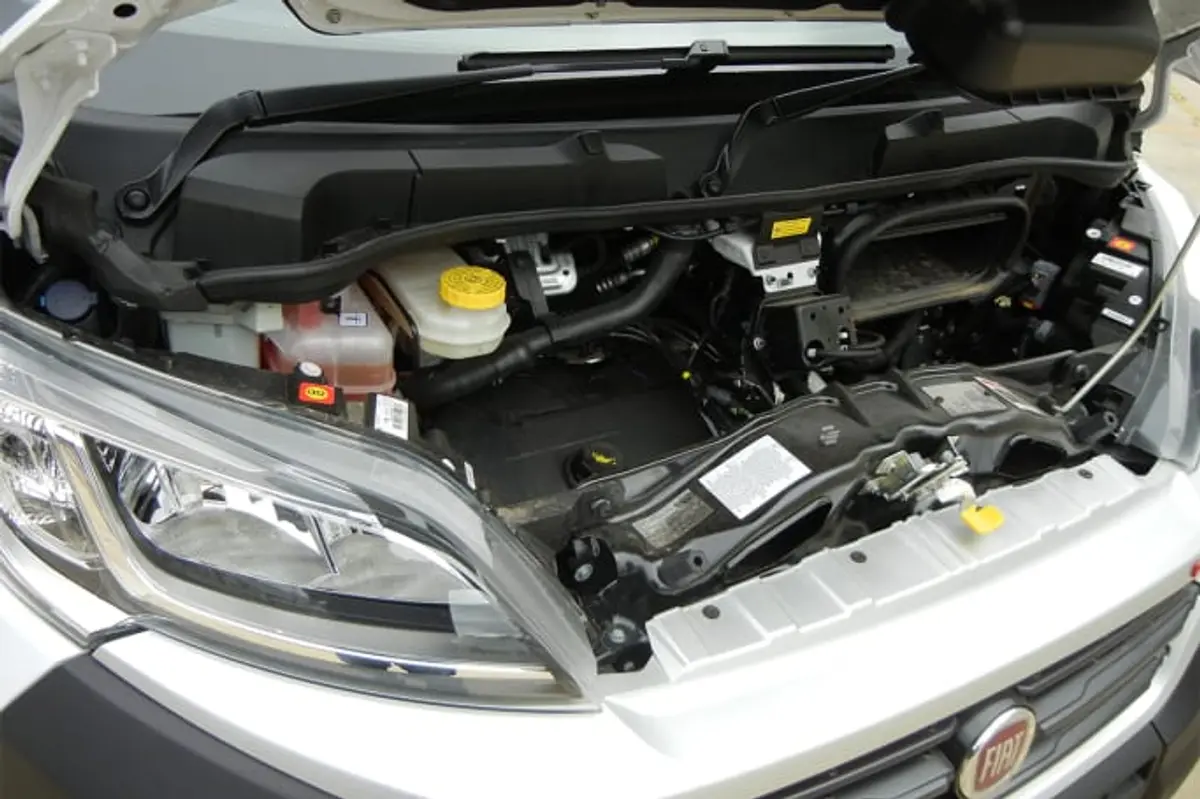
3: Oil & Fluids
With the RV looking great inside and out, it’s time to turn your attention to the mechanicals. Being a motor vehicle, an annual service is the minimum needed to keep things in good working order. While many new models can go 30-40,000 km between oil changes, that’s on the basis of the vehicle being a high-mileage commercial unit. The service interval is mileage or time based, so for 99 percent of RVs time will dictate the service cycle. Don’t skimp on preventative maintenance and use a reputable service centre to look after your machine when out of warranty. So, check the handbook and see when a service is due. It’s best to get one done before resuming your adventures after a long period of inactivity, even if it’s less than a year since the last one.
Regardless, you’ll need to check the engine oil and, for an auto, the transmission fluid level. Also, check the coolant, brake and power-steering fluid levels. Check the vehicle battery/ies to see if they are ‘green’ in the inspection window and make sure all terminals are corrosion-free. Give the engine a visual once-over and look for wear on the drive belt/s and any signs of oil or fluid leaks.
Finally, and still with the bonnet raised, start the engine and let idle for about 10 minutes. Make sure all instruments are registering normally and listen for unusual sounds in the engine bay. Whilst many new engines are tightly shrouded – making inspection and access difficult beyond the basics – your ears can still be a good guide to things operating normally.
4: Tyres
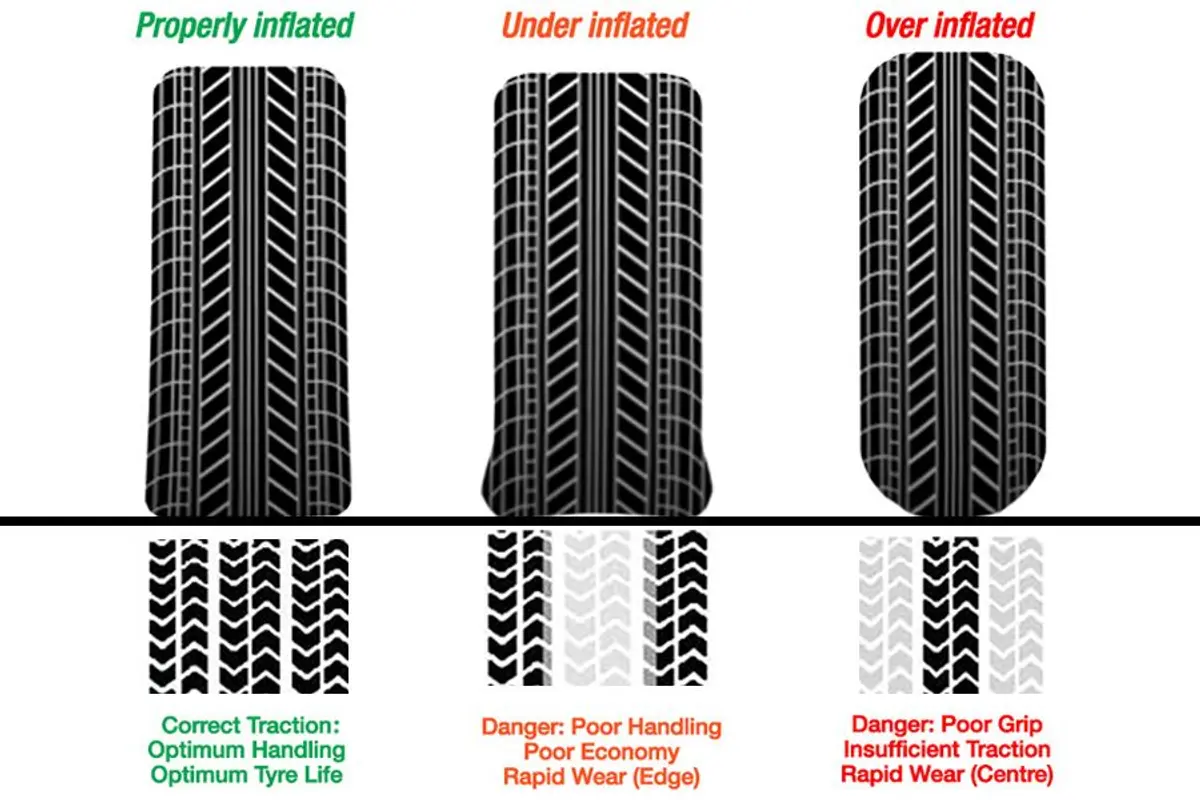
Maintaining correct tyre pressures is critical for safe and fuel-efficient driving. Always check pressures when tyres are cold and don’t forget the spare – because when you need it you really need it!
A good way to visually check pressures is to stand a short distance behind your RV, crouch down and look at each tyre’s sidewall for bulging where the tread meets the road. That’s a sure sign of under-inflation. Properly inflated tyres have little if any bulging and just this quick visual tip can help prevent disaster. Of course, it's no substitute for proper tyre pressure checks and the use of a quality tyre-pressure monitoring system.
Before driving, inspect all tyres for obvious signs of damage and wear, paying particular attention to sidewall cracking. This is age related and can be exacerbated by long exposure to sunlight, heat and cold. It’s recommended you replace tyres after five years regardless of wear to ensure structural integrity. If your RV has dual rear wheels, pay special attention to the inside tyre. It’s out of sight and therefore out of mind, and whilst inconvenient you need to regularly inspect it or have it inspected by a tyre dealer.
Tyres that have sat for long periods can develop flat spots that shake the vehicle once underway, and need a run to ‘round-out’ again. If you find this to be the case, drive slowly to avoid stressing the wheel bearings, suspension and even body components. Hopefully, however, you've managed to take your RV for a short drive every week or three throughout lockdown, just to keep things moving.
One final note about tyres; do you know where the jack and wheel brace are and how to change a wheel? You mightn’t always be in range of roadside assistance, so knowing what to do and how might just save your bacon one day.
5: Wheel Bearings
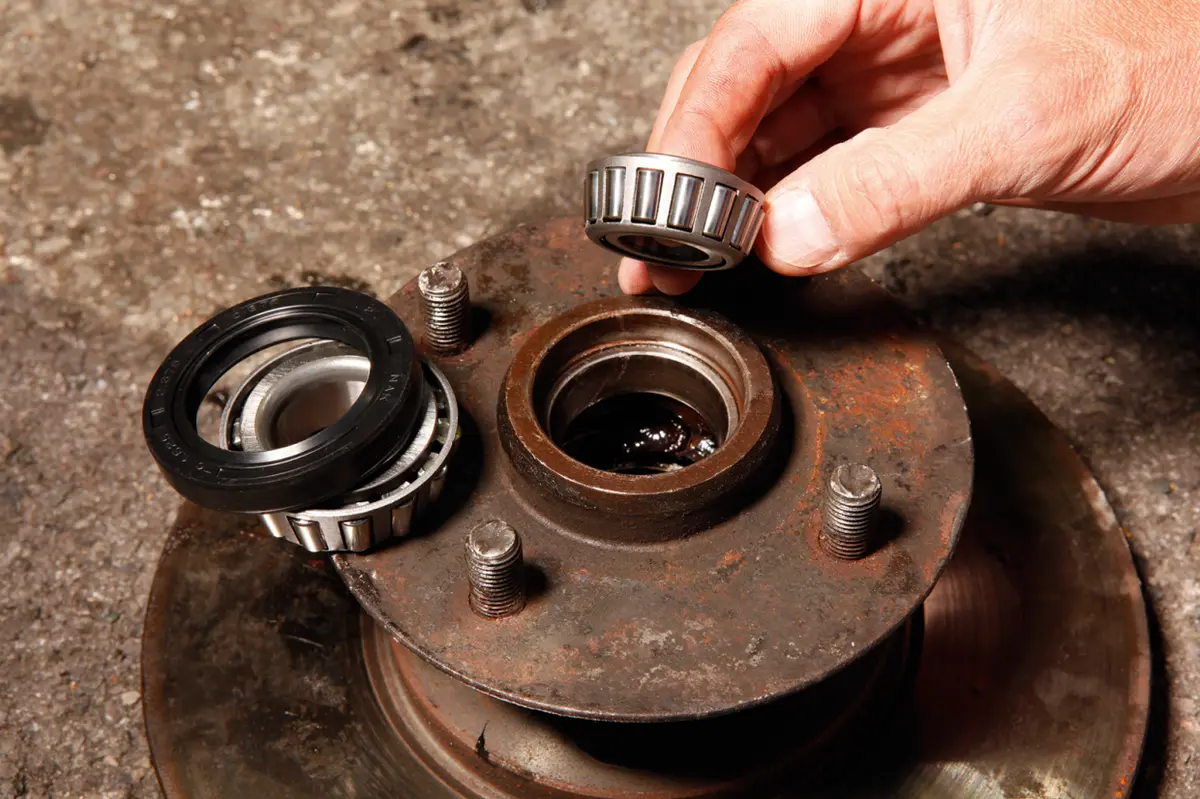
It’s especially important with older RVs to regularly check wheel bearings and ensure they are properly serviced and/or replaced. Failure to do so can result in a seized bearing that can see a wheel ‘depart’ the vehicle, with possibly fatal consequences.
Facing each wheel, firmly grip the tyre with both hands and repeatedly pull it towards you then push it away. If you feel any movement in the wheel itself it’s likely the wheel bearing is loose or worn. Also, check the wheel hubs for excessive heat after driving. In either case, have suspect bearings inspected, serviced or replaced, as necessary. And for all RVs regardless of age, ensure wheel bearings are regularly checked as part of routine servicing.
6: Fresh Water
It's good practice to drain fresh water tanks if your RV is going to sit for a prolonged period. This is to avoid any buildup of bacteria in the water or ‘biofilm’ on the tank walls. Better quality RVs have drain taps that make this easy, otherwise you'll need to either run the pump until empty or siphon out the water. If running the pump (and depending on tank size), do this in stages that give the pump time to cool down – and be careful not to let it run dry.
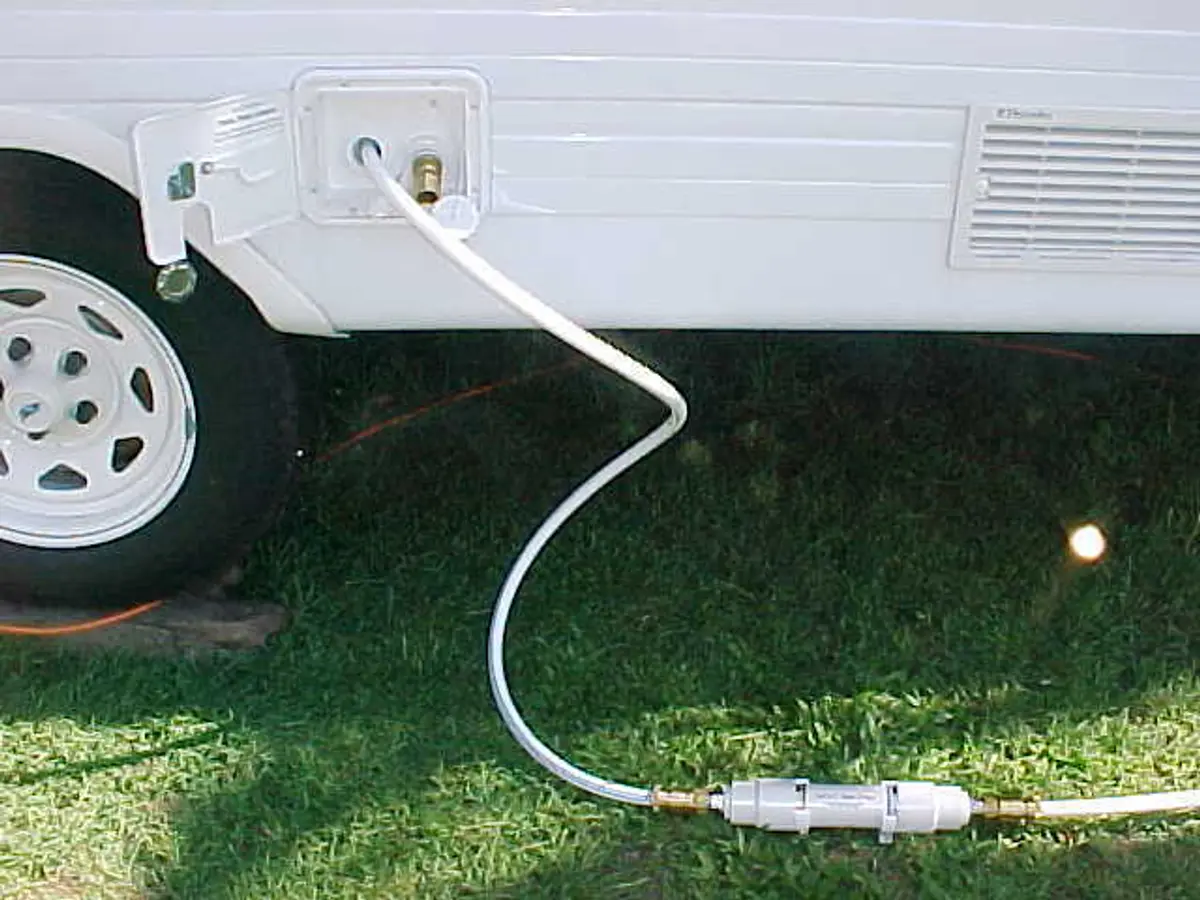
If there's a filter in your water system, now is the time to clean or replace it. Also, if you don't already have one, invest in an in-line filter for your filler hose to ensure only clean water goes into the tank to begin with.
When it's time to travel again, use a specialist tank-cleaning additive and fill the tank, then go for a drive and let it shake around for awhile. Drain, rinse, drain, refill and it should be good as new!
7: Hot Water Service
Has your hot water system (HWS) been sitting there for months with its tank full? That’s not good for American units like Suburban and Atwood, which don’t have stainless steel tanks and use a ‘sacrificial anode’ to avoid tank corrosion. This anode requires annual replacement and its wear rate is accelerated by constant immersion, so draining the unit is a good idea between trips. Anode replacement isn’t difficult – there are plenty of DIY videos on YouTube – and replacements can be found at Supercheap Autos as well as specialised RV parts suppliers.
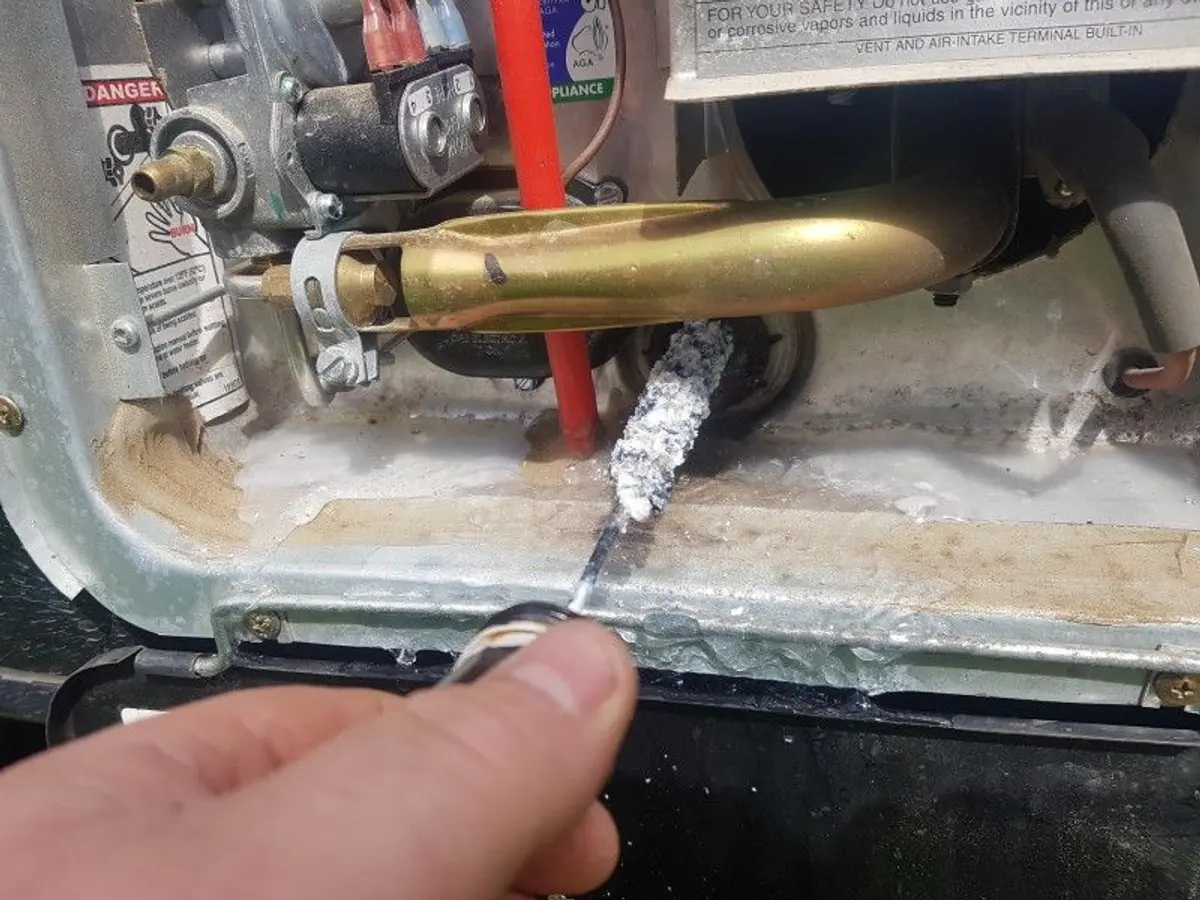
Because the HWS draws air from and vents to the outside world, insects and dirt can enter and clog the system. Remove the external cover and carefully inspect and clean the unit, making sure not to interfere with gas or electrical fittings. Once cleaned, ensure it’s filled (turn on the water pump) and run it to make sure it’s fully functional. And if it runs on mains power as well as LPG, try both just to be sure.
8: Grey and Black Water
Grey water tanks accumulate all kinds of gunk from the sink and bathroom, and need regular cleaning to drain effectively and prevent smells. Use a septic-safe drain cleaner as directed (preferably with hot water) and pour it down the sink, the bathroom hand-basin and shower drain hole/s. Leave it in the tank and go for a drive (doing this in conjunction with cleaning the fresh water tanks is a great idea). Drain and rinse, and if in doubt, repeat the process.
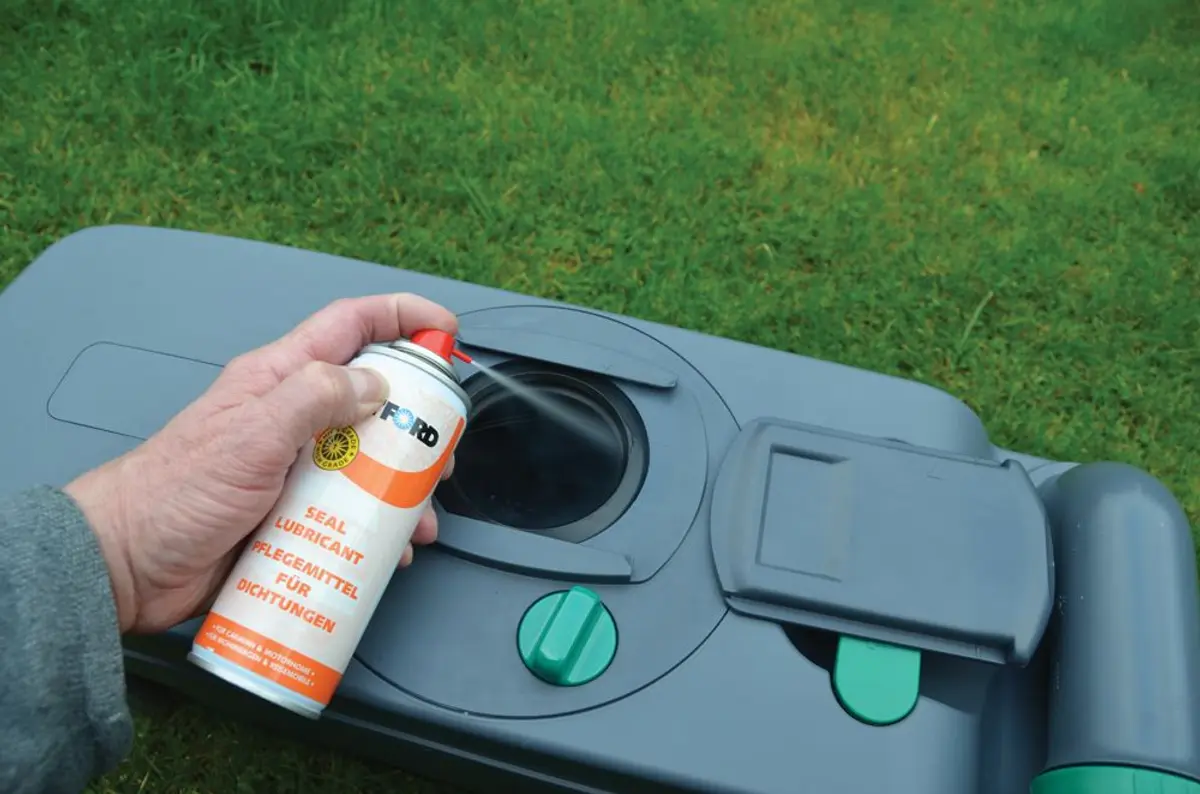
While few RVs in Australia have dedicated black water tanks, the humble toilet cassette needs its own special care and attention. Follow the manufacturer’s instructions on lubricating the sliding top cover and any other moving parts, to ensure smooth interface between the cassette and toilet unit (that’s code-speak for making sure ‘stuff’ doesn’t leak out because the hatch gets stuck). As for the cassette itself, use the same drain cleaner to give it a couple of good clean-outs. If you won’t be travelling for some time leave it empty until ready to go, then add your favourite, septic-friendly ’additive’ and a couple of litres of water when you hit the road. While the cassette is out it’s a good idea to disinfect the hatch area it sits in. Be careful not to just hose this out, because not only might you damage any wiring, water can leak into the vehicle, and not necessarily where you can see it.
9: Fridge
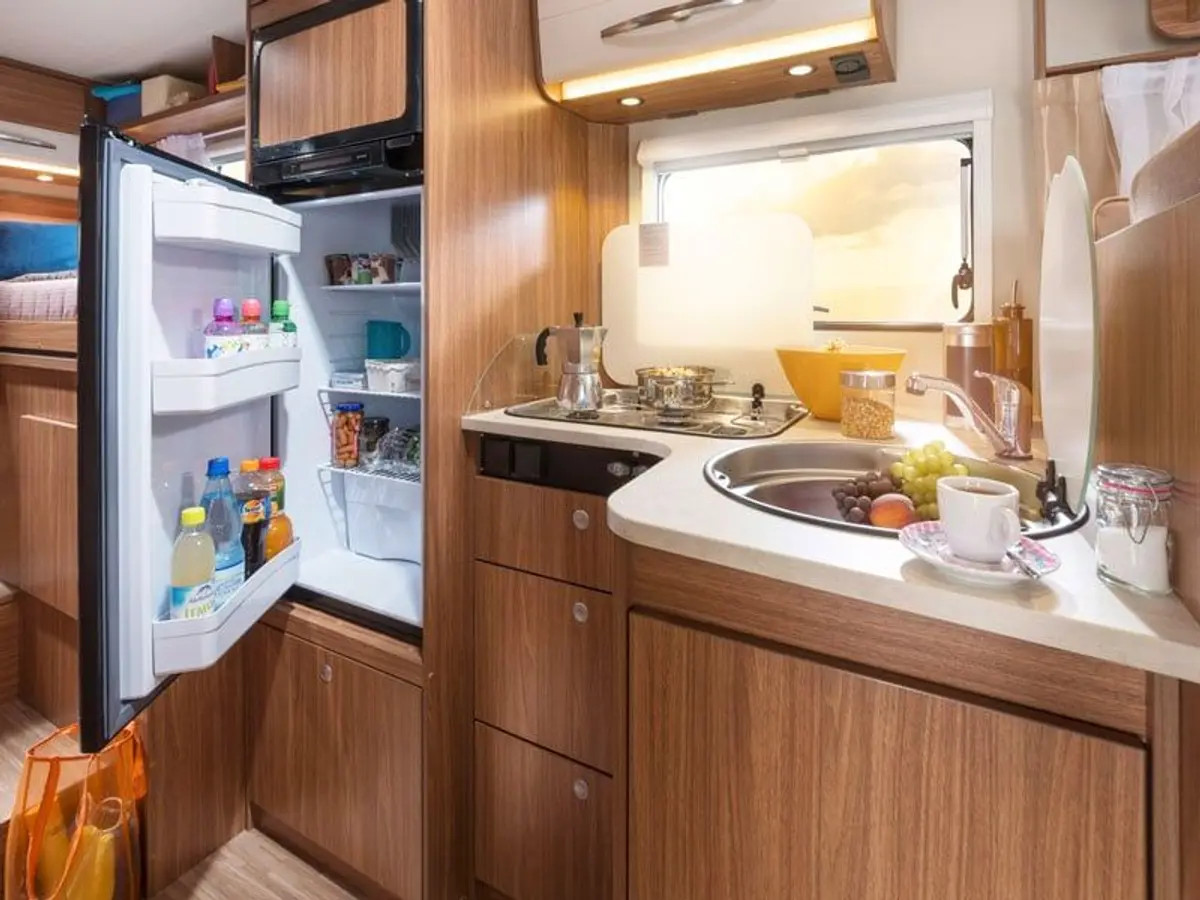
Like all refrigerators, RV units need regular use to keep them properly operating. Regular use – even just once a month – is recommended. When getting back on the road after a long lay-up, run it for 24-hours beforehand to make sure its properly cooling. Put in some test bottles of water or similar to add cooling ‘mass’ and see how it goes. Also, try different temperature settings to see if they make a noticeable difference, and look for frost in the freezer section.
Ensure any external venting is dirt and/or insect-nest free and that air flows through when operating. You should easily feel warm/hot air rising out of the top vent of a normal two-vent system on the outside the vehicle. If your fridge vents internally, ensure the space beneath it is clear as cooling air (usually) enters there. You should feel warm/hot air from the top vent, which could be at the front or rear of the unit. Three-way refrigerators need special care and attention, and it’s recommended an annual inspection be carried out by a certified gas fitter to detect any leaks in the LPG system.
10: Batteries
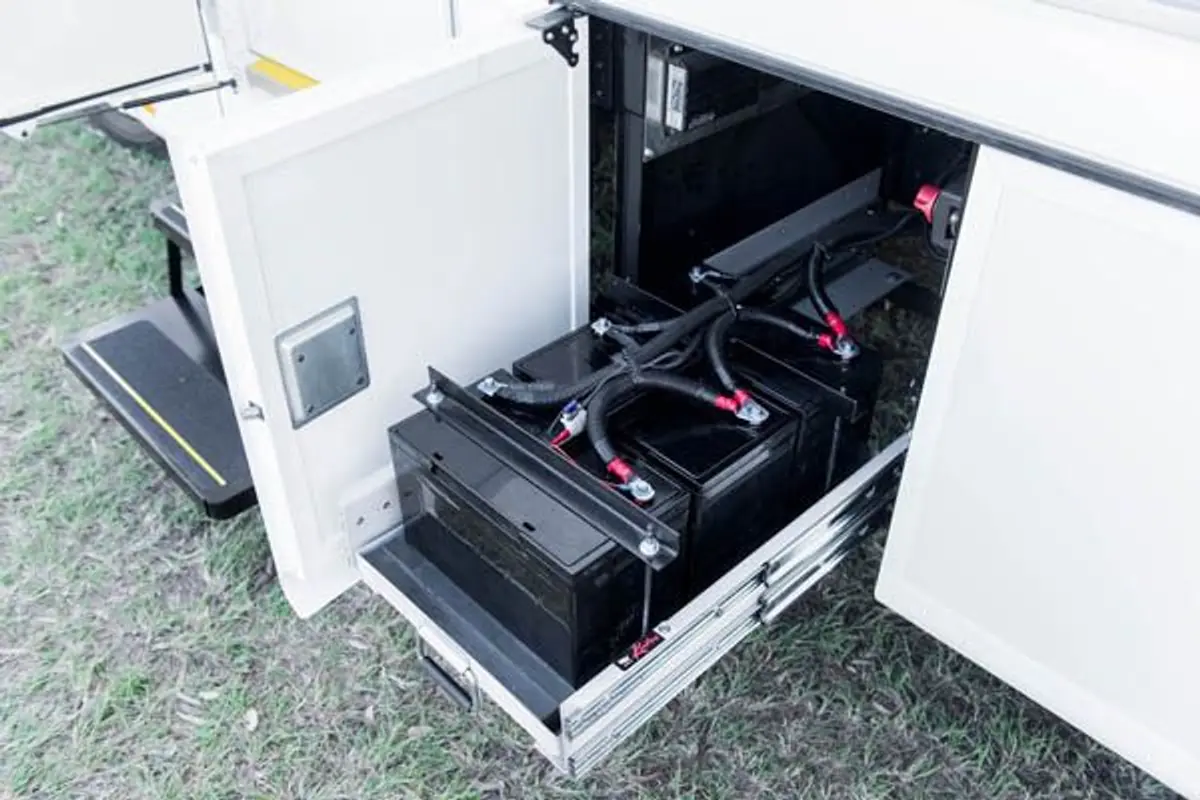
Many RVs that have been sitting for long periods during lockdown will still have had their house batteries charged via solar panels. If not, these batteries will need regular charging to keep them in good shape. The vehicle battery or batteries also need to be kept in top condition, either by regular charging, driving or both.
Periodically it’s good to give batteries a load, so running a compressor fridge for a while on the 12-volt system, or starting the engine and driving (or at least idling for a while), will help keep them healthy.
Remember, all batteries have a limited lifespan, so if either your RV’s vehicle or house batteries are getting on, have their health checked by an auto electrician before travelling again. Next to a flat tyre, there’s nothing more annoying than a flat battery – or two.
Finally, whilst checking your RV’s 12-volt system, ensure all lights and other appliances and systems work. Where possible, check the wiring, starting at the batteries and working along their route for signs of wear or even critter interference. Mice like nothing more than a three-course dinner (red, blue and black!) and given the recent plagues, might have popped into or under your RV for some meals on wheels. Safe travels!